Enquiry Guides
Replacement Screen and Conveyor Belt Enquiry Guide
For replacement screening media and conveyor belts, connect the visible surface with the complete outline, mounting or drive arrangement and working conditions.
A replacement screen panel or metal conveyor belt enquiry starts with evidence, not with a single number. Send photographs of the whole component, both edges and the fixing or drive arrangement, with the dimensions you know, the material it handles and the conditions it works in. That set lets the discussion start from the component itself.
A panel that looks right in a photograph can still stop a line when its hook edges do not match the tensioning rails.
This guide is for you if you are replacing a panel or belt you can still see, photograph or measure.
It is not for a first screen on a new machine with no reference part. It will help you decide what evidence to gather before you write; it cannot replace the technical review that confirms whether a construction suits your installation.
When the replacement does not fit
You order a replacement panel from a photograph of the surface. The pattern matches, the size looks right, and the panel arrives on time. Then you lift it onto the machine and the hook edges do not sit on the tensioning rails, or the panel is a few millimetres short at one end.
The line waits while you measure the old panel again and write a second message. The delay is not in making the panel; it is in questions that should have been answered before the first message.
A belt tells the same story in a different way. The new belt runs well for a week, then it starts tracking to one side and the edge frays. The surface looked identical to the old belt in the photograph you sent.
The joint was made differently, or the drive connection did not match the sprockets. The belt was not wrong in itself; the enquiry had described only its surface, and the surface is the part that two different belts share most easily.
Both failures come from the same gap. The visible surface is the easiest part to photograph, and it is also the part that says the least about whether a replacement will fit and work. The rest of this guide is about the evidence that closes that gap.
Why a photograph of the surface is not enough
A photograph of the surface shows the pattern and the openings. It does not show the outline of the panel, the shape of the hook edges, where the support strips sit, or which way the panel is tensioned. Those are the details that decide whether the panel mounts, and they are the details a surface photograph leaves out.
A machine model or part number helps, but on its own it may not identify the replacement. The same machine can run panels with different outlines, hook arrangements and support layouts, and a model number does not say which one is fitted. The model belongs beside the physical information, not instead of it.
When a screen blinds or pegs, the problem is the material meeting the pattern. Near-size particles lodge in the openings, the open area shrinks, and throughput falls until the screen has to be cleaned or changed.
A panel that blinds on your material will blind again, whatever the opening size says on paper. The enquiry therefore has to describe the material, whether the process is wet or dry, and what you have observed on the current screen.
A plain woven panel and a self-cleaning screen can look alike in a surface photograph, yet they are built for different duties. The woven panel has square openings in crimped wire, hook edges for the screening equipment, and no polyurethane strips.
The self-cleaning screen uses wave, diamond-opening or harp-string wire patterns to resist blinding, with or without polyurethane support strips. Wave wires flex as the screen vibrates, diamond openings resist pegging, and each harp-string wire vibrates on its own. Photographs of the surface and the edges usually make the type clear.
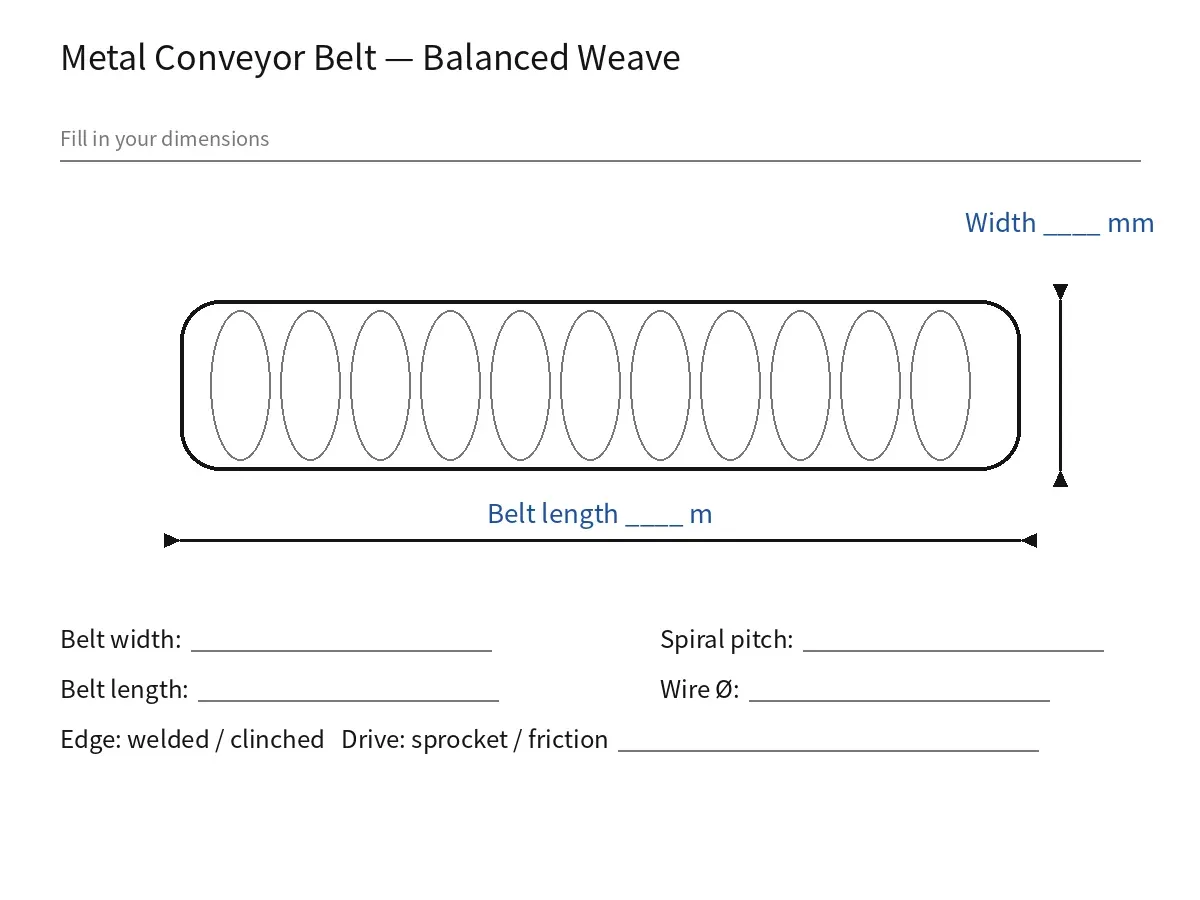
A belt enquiry has the gap in a different place. Two belts can share the same surface and still differ in weave, edge, joint and drive, and pitch definitions vary by belt construction, so a pitch value without its measurement points is hard to use.
The balanced weave is the general-purpose construction, stable on long runs and under changing temperature. The compound weave is tighter and heavier, for fine, small or top-heavy products. Which one fits depends on what the belt carries and where it runs.
A worn part adds a second gap. A panel or belt that has run for months may be stretched, bent or worn thin, so a dimension taken from it may no longer reflect its original shape.
A worn size is still useful if it is marked as taken from a worn part, so the discussion can allow for the difference.
What to send, and what to leave out
If the old panel still fits and you want the same construction again, say so plainly. Send a photograph of the whole panel, a close view of the wire pattern, photographs of both fixing edges and any support strips, and the dimensions with units.
A sketch can identify hook shapes, fixing details or support locations that are difficult to describe in a message. An equipment model or part reference belongs alongside the physical information, not in place of it.
If the old panel blinds or pegs, the enquiry is not a repeat order; it is a change to discuss. Describe the material being screened, whether the process is wet or dry, the problem you have observed and the screen construction.
Then name the pattern closest to your current panel: wave wires that flex as the screen vibrates, diamond openings that resist pegging, or harp-string wires that each vibrate on their own. Polyurethane support strips are optional, for extra support and longer panel life.
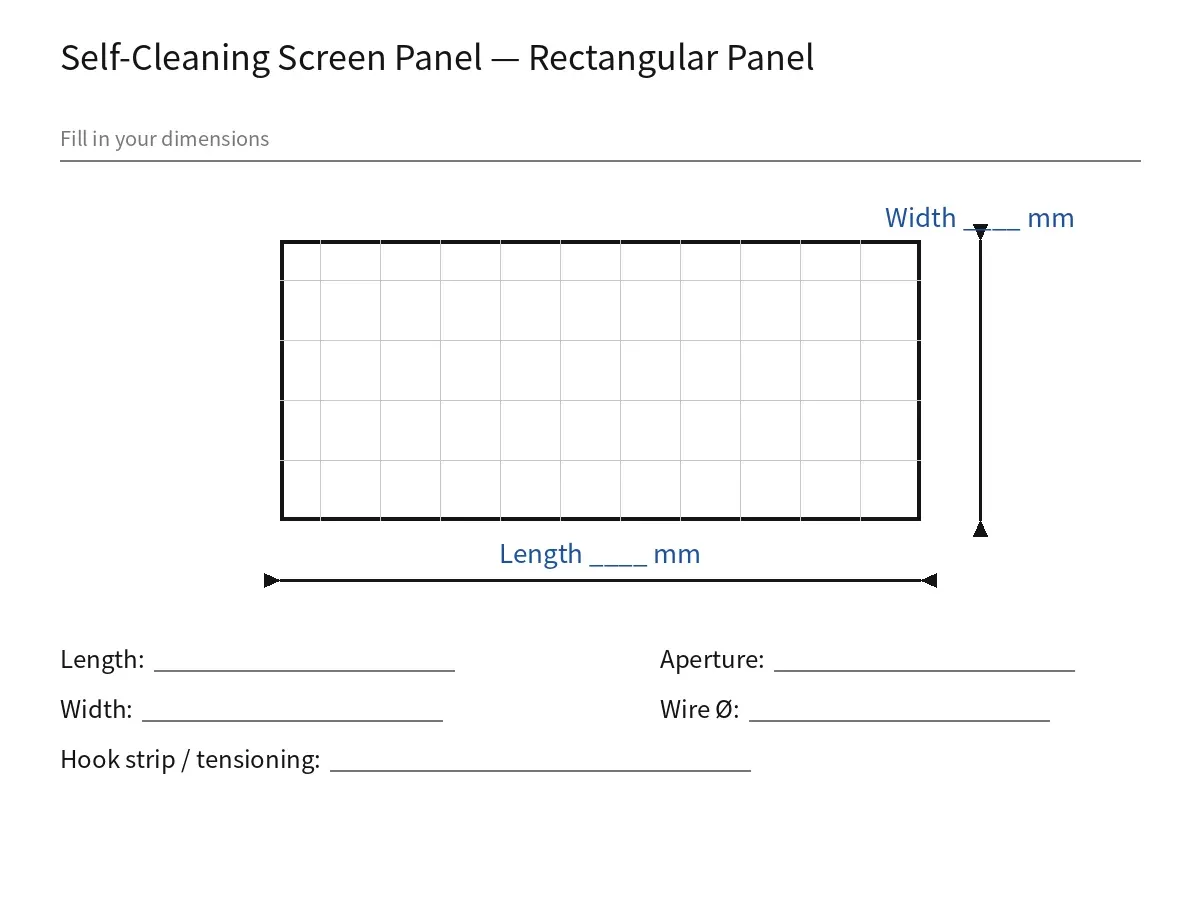
If your panel is the plain woven type, say that too. A woven panel has square openings in crimped wire and hook edges, with no polyurethane strips, and the discussion comes back to three numbers: opening size, wire diameter and hook-edge fit.
If you do not know the opening size or the wire diameter, clear photographs are the starting point. The measurements still needed can then be discussed, instead of guessed.
For a belt, show the belt surface, both edges and the joining area, with a photograph of the drive arrangement, because belts with similar appearances can have different connection details.
Give the belt width and known length, and state how the length was measured, including whether the reference is an open section or an endless belt. If you give a pitch value, show which points were measured on a drawing or an annotated photograph.
Add the product being conveyed and the process conditions you know. Temperature, load, speed and cleaning information can be added when available, and the drive type matters: edges are welded or curled, and drive is by sprocket or by friction. Say whether you need the belt alone or associated components as well, and name the components you want included.
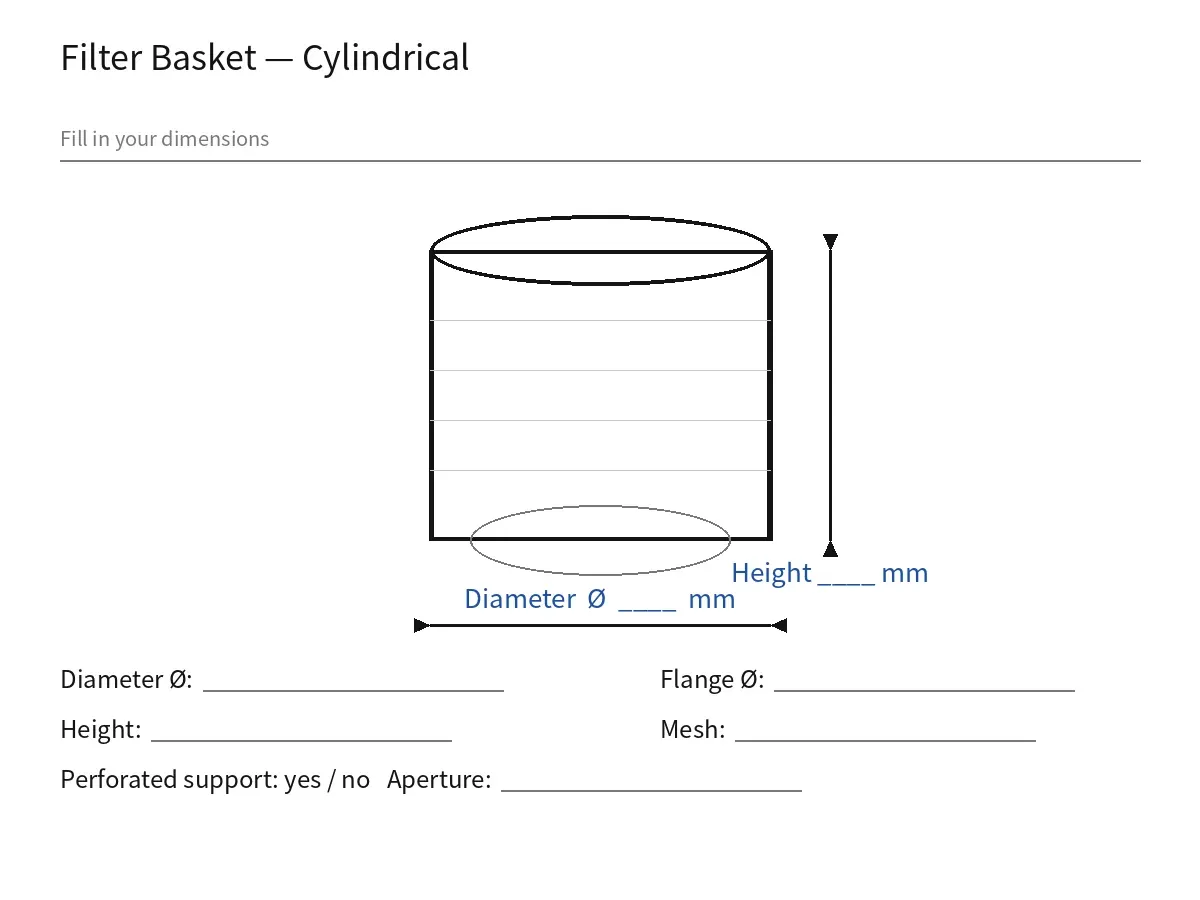
If you have almost nothing to measure, start with what you have. An existing drawing or clear product photographs can replace manual measurements, and a worksheet with ten fields for a screen or a belt lets you complete what you know and leave the rest blank.
Unknown values can be identified for the next discussion. A guessed number costs more time than a blank field, because the correction has to undo a number that was never real.
Where an enquiry can go wrong
State whether you want a replacement matching the current construction or a proposed change. If the part is worn or distorted, identify any dimensions that may no longer reflect its original shape, and keep the old drawing or specification with the photographs.
Do not assume a different panel will suit the installation. A panel that blinds on your material will blind again, whatever the opening size says on paper.
A belt with the wrong weave for the temperature or the load will wear out early. The wrong edge or joint fails first, and a belt that cannot be cleaned properly becomes a hygiene problem on a food line.
Pitch is the easiest belt number to get wrong, because pitch definitions vary by belt construction. Always mark the two measurement points on a photograph or a sketch, and give the units with the value.
This guide cannot promise a fit, a price or a delivery date, and no enquiry can. Suitability and supply scope are confirmed after technical review, once the construction, the fixing or drive arrangement and the working conditions are all on the table.
Your next step
Gather the set in one pass, before you write. Photograph the whole component, both edges and the fixing or drive arrangement, and measure the dimensions with units, noting where each one was taken.
Write down the material, the wet or dry process and the conditions you know. Leave the fields you do not know blank, and mark them as unknown.
Then send it through the Custom Wire Mesh Enquiry form, which asks for your contact name, email, product or application and a brief requirement, with company, quantity, known details and a requested delivery date as optional fields.
Drawings and photographs go by email to Anping Mesh Pro at sales@anpingmeshpro.com, with the same contact name and product reference. The next discussion can then focus on the construction and connection details still needed for the quotation. Leo Li will reply within 1 working day.